

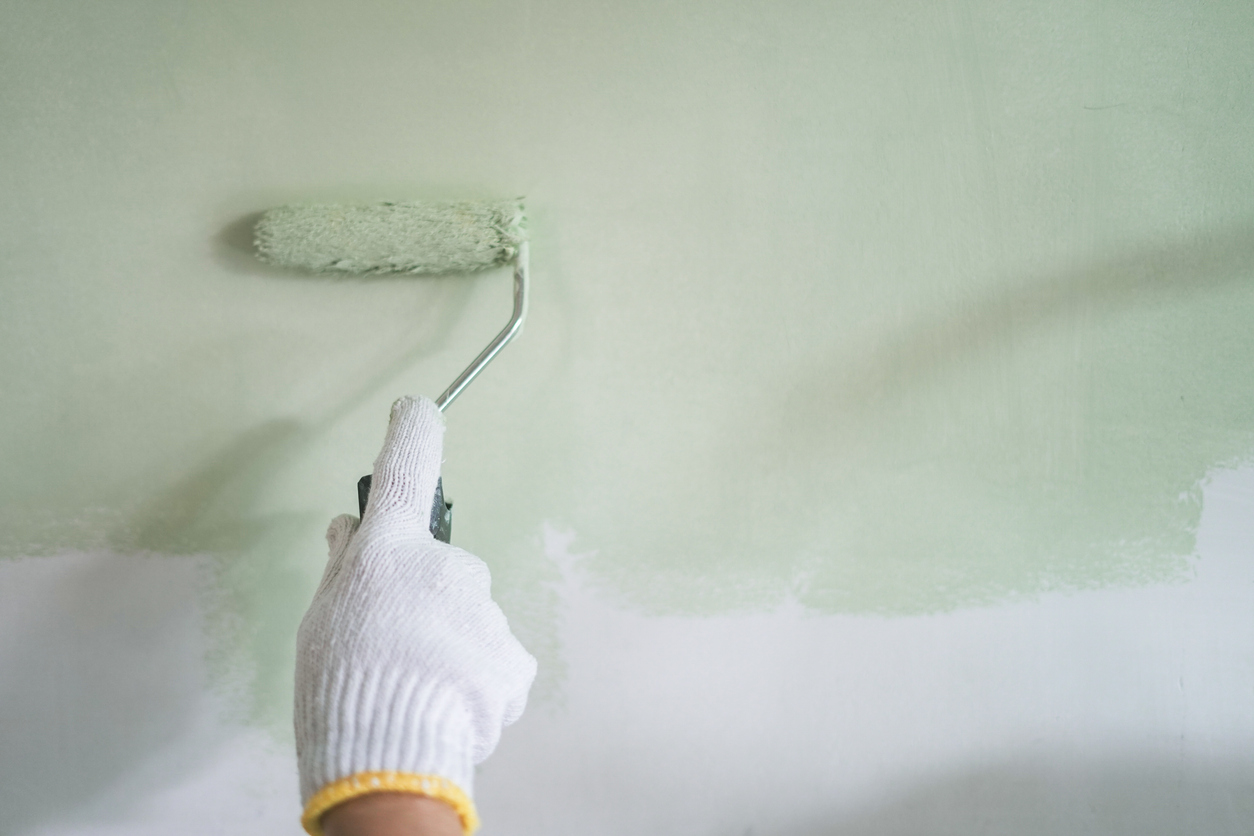
When it comes to choosing the right paint for your home, one of the key factors to consider is the sheen. Paint sheen can significantly impact the look and feel of a room, from how light reflects off the walls to how durable the finish will be.
In this guide, we’ll walk you through the different types of paint sheens, how to measure them, and how to select the perfect one for your space. Whether you’re aiming for a subtle matte finish or a high-gloss shine, understanding paint sheen will help you make the best choice for your project.
Understanding Paint Sheen Levels
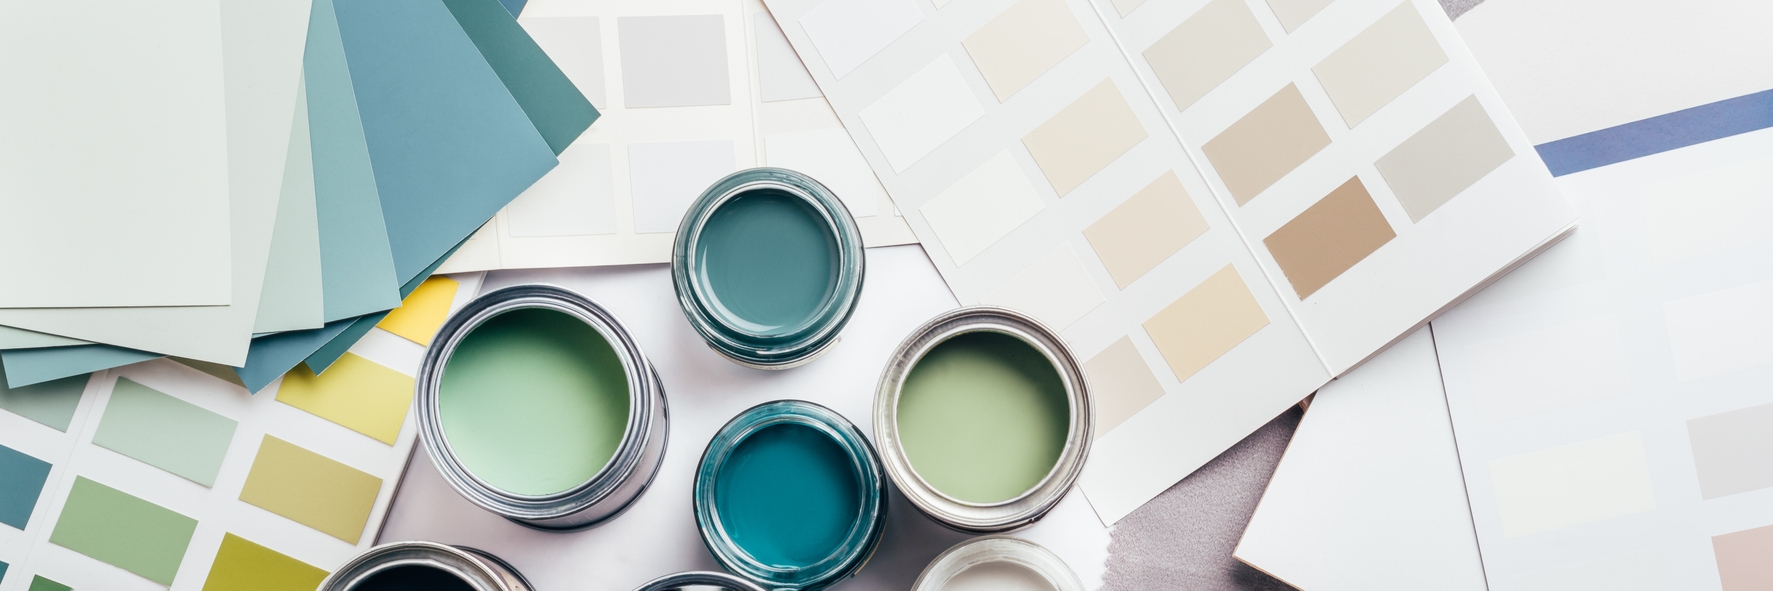
Choosing the right paint sheen is crucial for achieving the desired look and functionality of your painted surfaces. Each sheen level offers different characteristics, ranging from how much light it reflects to how durable and easy to clean it is. Below, we explore the most common paint sheen levels—Flat/Matte, Eggshell, Satin, Semi-Gloss, and Gloss/High-Gloss—detailing their properties and the best places to use them.
Flat/Matte
Flat or matte paint has little to no sheen, making it the least reflective of all paint finishes. This gives walls a smooth, velvety appearance. Because it doesn’t reflect light, flat paint is excellent at hiding surface imperfections such as small cracks or bumps.
They are best suited for low-traffic areas where durability is not a primary concern. They are commonly used in bedrooms, living rooms, and ceilings. However, flat paint is less washable, so it’s not recommended for areas that are prone to dirt or moisture.
Eggshell
The eggshell finish offers a slight sheen, just enough to give walls a soft, subtle glow. It strikes a balance between flat and satin, providing a touch of elegance without being too shiny. It is a versatile choice that works well in most areas of the home. It’s durable enough for moderate-traffic spaces like living rooms, dining rooms, and hallways. Its slight sheen makes it easier to clean than flat paint, making it a practical yet stylish option.
Satin
Satin paint has a smooth, velvety finish with a bit more sheen than eggshell. It reflects light more effectively, giving walls a gentle glow. Satin finishes are known for their durability and washability, making them a popular choice for both aesthetic appeal and practicality. Due to its durability and ease of cleaning, satin is ideal for high-traffic areas such as kitchens, bathrooms, and children’s rooms. It also works well on woodwork and trim, providing a subtle contrast to walls painted in a flat or eggshell finish.
Semi-Gloss
Semi-gloss paint has a noticeable sheen that reflects a significant amount of light. It’s a durable and moisture-resistant finish, which makes it highly practical for areas that require frequent cleaning. Semi-gloss is often used in kitchens, bathrooms, and laundry rooms because of its resistance to moisture and stains. It’s also a great choice for doors, windowsills, and trim, as its reflective surface adds a crisp, polished look to these details.
Gloss / High Gloss
Gloss and high-gloss paints are the most reflective finishes available. They provide a shiny, mirror-like appearance that can make colors pop and give surfaces a striking, dramatic effect. High-gloss paint is typically reserved for areas that you want to highlight, such as doors, cabinets, and furniture. Its highly durable and washable nature also makes it suitable for spaces that endure heavy use, although it will emphasize any surface imperfections.
Factors to Consider When Choosing Paint Sheen
Selecting the right paint sheen is more than just a matter of appearance; it also involves practical considerations that can impact the longevity and functionality of your paint job. Below are key factors to keep in mind when choosing the best paint sheen for your project.
- Durability: One of the most important factors to consider is how durable the paint needs to be. Higher sheens, like satin, semi-gloss, and high-gloss, offer greater durability and resistance to wear and tear. These finishes are more resilient to scrubbing and cleaning, making them ideal for high-traffic areas or rooms prone to dirt, moisture, and frequent use.
- Maintenance: If you need a finish that’s easy to maintain, consider a sheen with a bit of gloss. Flat and matte finishes, while great at hiding imperfections, are less durable and harder to clean without leaving marks or streaks. On the other hand, paints with higher gloss levels can be wiped down with ease, making them better suited for kitchens, bathrooms, and children’s rooms where stains and splashes are common.
- Lighting: The amount and type of light in a room can greatly affect how paint looks on the walls. High-gloss and semi-gloss finishes reflect more light, which can make a room appear brighter and more vibrant. However, they can also highlight imperfections on the wall, such as uneven textures or flaws.
- Room Conditions: Consider the room’s purpose and environmental conditions when selecting a sheen. For instance, in a small, dark room, a satin or semi-gloss finish can help bounce light around, making the space feel larger and more open. Conversely, in a large, sunlit room, a flat or eggshell finish can soften the light and create a cozy, inviting atmosphere.
- Desired Aesthetic: The paint sheen you choose can significantly impact the overall aesthetic of a space. Flat and matte finishes offer a sophisticated, understated look that works well in traditional or elegant settings. They create a smooth, velvety surface that’s ideal for a more classic or refined aesthetic.
- Finish: If you’re aiming for a more modern, polished look, higher sheens like semi-gloss and high-gloss are the way to go. These finishes add a touch of drama and glamour to a room, making colors appear more vivid and surfaces more striking. They’re also perfect for highlighting architectural details, such as trim, moldings, or cabinetry.
By carefully considering these factors—durability, maintenance, lighting, room conditions, and the desired aesthetic—you can select the perfect paint sheen for your project. This will ensure not only a beautiful finish but also a functional and lasting result.
Tools and Methods for Measuring Paint Sheen
Accurately measuring paint sheen is essential for achieving the desired finish in your painting project. While selecting the right sheen often involves personal preference, there are specific tools and techniques that can help you make an informed decision. Below, we explore three common methods: using a gloss meter, performing visual inspections, and conducting a touch test.
Gloss Meter
A gloss meter is a precise instrument used to measure the gloss level of a painted surface. It works by directing a beam of light at a specific angle (usually 20°, 60°, or 85°) onto the surface and then measuring the amount of light that is reflected back. The device then provides a gloss unit reading, which indicates the sheen level. Higher readings correspond to glossier finishes, while lower readings indicate a more matte finish.
Gloss meters are particularly useful in professional settings where consistency and accuracy are crucial. They are often used in quality control processes in manufacturing, ensuring that paint batches meet specific sheen requirements. For homeowners or DIY enthusiasts, a gloss meter can be helpful if you’re trying to match an existing sheen or if you want to achieve a precise finish across different rooms or surfaces.
Visual Inspection Techniques
Visual inspection is a straightforward method that involves comparing paint samples side by side to assess their sheen levels. To get the most accurate comparison, it’s essential to examine the samples under various lighting conditions. Different light sources—such as natural daylight, incandescent, or LED lighting—can dramatically alter the appearance of paint sheen.
Under Different Lighting:
When performing a visual inspection, observe the samples in the actual room where the paint will be applied, as the lighting in that space will influence how the sheen appears. Hold the samples at different angles and look for how light interacts with the surface. This method allows you to see how glossy or matte a finish looks in different parts of the room, helping you choose the sheen that best suits the environment.
Touch Test
Feeling the Texture:
The touch test involves running your hand over a painted surface to gauge the texture and smoothness, which can give you a good indication of the sheen level. Matte finishes tend to feel more textured and less smooth, while glossier finishes are typically smoother and more slick to the touch.
Finish Assessment:
This method is especially useful when considering how the paint will feel in high-contact areas, like doors, trim, or furniture. The touch test can help you determine whether a surface will have the desired tactile quality, which is important for spaces where touchability and ease of cleaning are key considerations.
Understanding how to measure paint sheen can help you achieve the perfect finish for your project. Using a gloss meter provides precise measurements, while visual inspections and touch tests offer practical insights that complement technical data. By combining these methods, you can confidently select the right sheen to enhance the beauty and functionality of your space.
Practical Steps for Measuring and Selecting Sheen
Selecting the right paint sheen for your project involves more than just choosing a finish from a chart. It requires hands-on testing and careful consideration of how the sheen will appear on your specific surfaces and under your room’s lighting conditions. Here’s a guide to help you measure and select the perfect sheen, including using a gloss meter, creating sample boards, and testing under different conditions.
How to Use a Gloss Meter: Step-by-Step Instructions
Using a gloss meter is a straightforward process, but it’s important to follow the steps carefully to get accurate readings. Here’s how to do it:
- Prepare the Surface: Ensure the surface you’re measuring is clean, dry, and free from any dust, fingerprints, or smudges. This will prevent any interference with the light reflection.
- Calibrate the Gloss Meter: Before taking any measurements, calibrate the gloss meter using a standard calibration tile provided by the manufacturer. This ensures that your readings are accurate.
- Position the Gloss Meter: Place the gloss meter on the surface you want to measure. Align the meter according to the manufacturer’s instructions, typically at a specific angle (20°, 60°, or 85°), depending on the level of gloss you’re measuring.
- Take the Measurement: Press the button or trigger on the gloss meter to activate the light beam. The meter will measure the amount of light reflected and display the gloss level on its screen.
- Record the Reading: Take multiple readings from different areas of the surface to ensure consistency. Average these readings to get an accurate representation of the sheen level.
- Interpret the Results: Compare your readings to standard gloss levels to determine the exact sheen (e.g., flat, eggshell, satin, semi-gloss, or high-gloss). Use this information to match or select the appropriate paint for your project.
Creating and Comparing Sample Boards
Sample boards are an excellent way to visualize how different sheens will look on your walls before committing to a full application. Here’s how to create and compare them:
- Prepare the Sample Boards: Use small pieces of drywall or cardboard to create your sample boards. Make sure they are large enough (at least 12×12 inches) to give you a good view of how the paint will look.
- Apply the Paint: Apply the paint using the same tools and techniques you plan to use for your final project. For accurate results, apply at least two coats, allowing the paint to dry fully between coats.
- Label the Boards: Clearly label each sample board with the paint color and sheen level. This will help you keep track of which is which during your comparisons.
- Compare Under Different Lighting: Place the sample boards in the room where the paint will be used. Observe them under various lighting conditions—daylight, artificial light, and shadows. Move the boards around the room to see how the sheen appears on different walls.
- Evaluate the Appearance: Consider how each sheen enhances or diminishes the room’s features. Pay attention to how the light reflects off the surface, how the sheen affects the color, and whether it highlights or hides imperfections.
Tips for Testing Sheen on Different Surfaces and in Various Lighting Conditions
Testing sheen on various surfaces and under different lighting conditions is key to making an informed decision. Here are some tips:
- Test on Actual Surfaces: If possible, test the sheen on the actual walls, trim, or furniture you plan to paint. Different materials (wood, drywall, metal) can affect how the sheen looks and feels.
- Check Different Angles: View the surface from multiple angles to see how light reflects at different positions. This will help you understand how the sheen will appear throughout the day as lighting changes.
- Use Artificial and Natural Light: Paint sheen can look very different under artificial lighting compared to natural sunlight. Test the sheen under both conditions to ensure it will look good at all times of the day.
- Consider Surface Imperfections: Higher sheens tend to highlight imperfections, while lower sheens can help conceal them. When testing, check how well the sheen hides or reveals any flaws in the surface.
- Allow Time for Drying: Paint finishes can change slightly as they dry. Allow the samples to dry completely before making your final decision to ensure you’re seeing the true sheen.
By following these practical steps—using a gloss meter, creating and comparing sample boards, and testing in various conditions—you can confidently select the perfect paint sheen for your project. This careful approach will help you achieve a finish that not only looks great but also performs well over time.
Common Mistakes and How to Avoid Them
When selecting and applying paint sheens, it’s easy to make mistakes that can lead to disappointing results. Understanding and avoiding these common pitfalls will help ensure your project turns out exactly as you envision. Below, we discuss three common mistakes: misunderstanding the impact of lighting on sheen appearance, overlooking the effect of surface preparation, and neglecting to test sheen in the actual room conditions.
Misunderstanding the Impact of Lighting on Sheen Appearance
One of the most common mistakes is underestimating how much lighting can influence the appearance of paint sheen. Different light sources, such as natural daylight, incandescent bulbs, or LEDs, can significantly alter how glossy or matte a surface looks. Without considering these factors, you might choose a sheen that looks perfect in the store but appears completely different in your home.
Always test paint samples in the actual room where they will be applied. Observe how the sheen looks at different times of day and under various lighting conditions. Move the sample boards around the room to see how light affects them on different walls. This will give you a more accurate representation of how the sheen will look once the paint is applied.
Overlooking the Effect of Surface Preparation on Sheen
Another common mistake is neglecting proper surface preparation before applying paint, which can lead to an uneven sheen. Surfaces that are not smooth, clean, or adequately primed can cause the paint to absorb unevenly, resulting in a patchy or inconsistent finish. Glossy finishes, in particular, will highlight any imperfections, making this mistake especially noticeable.
Ensure that the surface is thoroughly prepared before painting. This includes cleaning the surface to remove dirt, grease, and dust, sanding down rough spots, filling in holes or cracks, and applying a suitable primer. Proper preparation will create a uniform surface that allows the paint to adhere evenly, resulting in a consistent sheen across the entire area.
Neglecting to Test Sheen in the Actual Room Conditions
Many people make the mistake of selecting a paint sheen based on how it looks in a showroom or online without testing it in the actual room where it will be used. Factors such as room size, lighting, furniture, and even the color of surrounding walls can all influence how a sheen appears. Without testing, you might end up with a finish that doesn’t suit the room as expected.
Always create and test sample boards in the room where you plan to paint. Place the samples on different walls and observe them at different times of the day to see how they interact with the room’s lighting and overall environment. If possible, small test patches should be applied directly on the walls to get a true sense of how the sheen will look in the space.
Final Thoughts
Selecting the right paint sheen involves careful consideration of factors like lighting, surface preparation, and testing in real room conditions. By understanding these elements and avoiding common mistakes, you can ensure your paint job looks great and lasts long, giving your space the perfect finish.
Ready to transform your space with the perfect paint sheen? Contact Custom Painting, Inc. today! Give us a call at 925-294-8062 or use our contact form to schedule a consultation. Our experts are here to help you achieve the ideal finish for your project. Don’t wait—let’s bring your vision to life!