
When you decide to give your kitchen a fresh new look, you may start by repainting your cabinets in your Pleasanton home. It’s a cost-effective project that makes a huge difference. It sounds simple in theory, but before you pick up a paintbrush, you need to do a lot more preparation, and that includes sanding.
You might wonder, is it really necessary? Let’s discuss when it’s needed and possible alternatives.
Why Sanding is Commonly Recommended
Sanding is a tried-and-true method many experts recommend when it comes to painting cabinets. Here’s why:
- It improves paint adhesion: Sanding creates a slightly rough surface, which helps the new paint grip onto the cabinet. This ensures the paint doesn’t peel or chip off easily over time.
- Sanding makes it easier to remove old finishes and smooth imperfections. If your cabinets have an old finish, sanding helps remove it, making way for the new paint. It also smooths out imperfections like small dents or scratches, resulting in a more even and polished final look.
In fact, it’s recommended to sand twice – first to remove the old paint and then to smooth out the surface.
Situations Where Sanding is Essential
In certain situations, sanding is beneficial and essential for achieving the best results with your painted cabinets. Here are a few scenarios where sanding is a must:
- Cabinets have glossy finishes or heavy buildup. If your cabinets have a glossy finish, sanding is crucial. Glossy surfaces can be difficult for paint to adhere to, so sanding helps create a better surface for the paint to stick. Similarly, if there’s a heavy buildup of grime, grease, or old paint, sanding can help clean and smooth the surface.
- The paint is chipped or peeling. When your cabinets have areas of chipped or peeling paint, sanding is necessary to remove the loose paint and smooth out the edges. This prevents the new paint from flaking off in the same spots.
- There are deep scratches or dents. If your cabinets have deep scratches or dents, sanding helps level the surface. By sanding down these imperfections, you’ll ensure the new paint looks smooth and even.
Alternatives to Sanding
While sanding is often recommended, some alternatives can be effective, especially if you’re looking for a less labor-intensive option. Here are a few alternatives to consider:
- Using liquid deglossers or deglazing products: Liquid deglossers, also known as deglazing products, can be a great alternative to sanding. These products work by chemically roughening the surface, allowing the paint to adhere without sanding. Simply apply the deglosser according to the manufacturer’s instructions, and you’re ready to paint.
- Applying bonding primers designed explicitly for glossy surfaces: Bonding primers are specially formulated to adhere to glossy and slick surfaces. Applying a bonding primer allows you to skip the sanding step and still achieve good paint adhesion. Look for primers labeled as “bonding” or “adhesion-promoting” for the best results.
- Light scuffing with fine-grit sandpaper as a minimal alternative: If you want to minimize the effort while still improving paint adhesion, you can lightly scuff the surface with fine-grit sandpaper (like 220-grit). This approach doesn’t require as much effort as full sanding but can still help create a better surface for the paint.
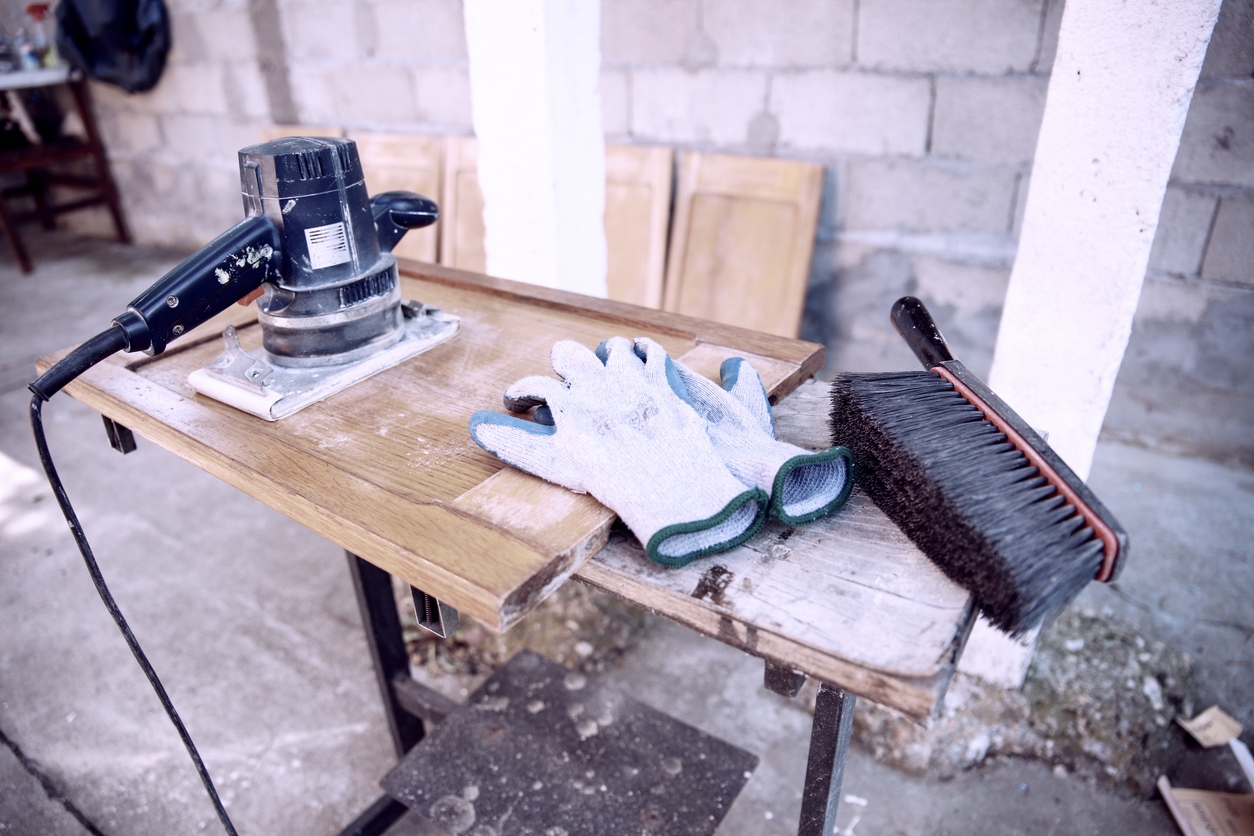
Steps for Proper Sanding

If sanding is the best option for your cabinet painting project, following the correct steps is crucial for achieving a smooth and professional finish. Here’s a simple guide to help you sand your cabinets properly:
- Choose the right sandpaper grit. The first step is to choose the correct sandpaper. For the initial sanding, you’ll want to use sandpaper with a grit range of 120-150. This grit is coarse enough to remove old finishes and rough up the surface. After the initial sanding, switch to a finer grit, like 220, to smooth the surface and prepare it for painting. The finer grit helps to eliminate any scratches left by the coarser sandpaper, ensuring a smooth finish.
- Use the right techniques for effective and even sanding. Sanding may seem straightforward, but using the proper technique can make a big difference. Always sand in the direction of the wood grain to avoid creating scratches that will show through the paint. Use even pressure to prevent gouging the wood, and sand all surfaces evenly. For flat areas, a sanding block can help maintain a consistent surface. For more detailed or curved areas, consider using a flexible sanding sponge.
- Clean and remove dust after sanding. Once you’ve finished sanding, cleaning off all the dust is essential. Dust can interfere with the paint’s adhesion and create a rough texture. Start by vacuuming the surfaces to remove the bulk of the dust. Then, wipe down the cabinets with a tack cloth or a damp rag to pick up any remaining particles. Make sure the cabinets are completely dry before you start painting.
How to Paint Without Sanding
If you’re not keen on the idea of sanding your cabinets, don’t worry! There are ways to ensure good paint adhesion without going through the sanding process. Here’s how you can paint your cabinets without sanding:
- Clean the surface thoroughly. The key to painting cabinets without sanding is ensuring the surface is clean and primed correctly. Start by thoroughly cleaning the cabinets to remove any grease, grime, or dirt. A good cleaner or degreaser can make a huge difference. Once the cabinets are clean and dry, you’ll be ready to apply a primer that’s designed to bond to smooth surfaces.
- Use primers that allow painting without extensive sanding. Specific primers on the market are formulated to adhere to glossy or slick surfaces without the need for sanding. These are often labeled as “bonding primers” or “adhesion primers.” These primers chemically bond to the surface, providing a suitable base for your paint. Some popular options include Zinsser BONDZ or KILZ Adhesion. Simply apply the primer according to the manufacturer’s instructions, and you’ll be ready to paint once it’s dry.
- Test a small area to check adhesion. Before you paint all your cabinets, it’s a good idea to test a small area first. Apply the primer and paint to a small, inconspicuous section of one cabinet. Let it dry completely, and then check the adhesion by scratching it off with your fingernail. If the paint stays put, you’re good to go! This test ensures that you won’t have any surprises with peeling or chipping paint after you’ve painted all the cabinets.
Conclusion
Every cabinet painting project in the Fremont, CA area is unique. Sanding might be essential if your cabinets have a glossy finish, heavy buildup, chipped paint, or deep scratches. On the other hand, if you’re looking for a less labor-intensive option, consider using deglossers or bonding primers. The key is to assess the condition of your Tracy, CA home’s cabinets and choose the method that will give you the best results.
If you’re ready to transform your cabinets but feel unsure about the preparation and painting process, Custom Painting, Inc. is here to help. Our experienced team can handle everything from sanding to applying the final coat of paint, ensuring a beautiful, professional finish. Call us today at 925-294-8062 or fill out the online form to schedule a consultation and take the first step toward your dream kitchen or bathroom makeover.