
If your home in the Pleasanton, CA area was built before the 1980s, it likely has popcorn ceilings. If it does, you wonder how to get rid of them. Removing popcorn ceilings is even more challenging if they’re painted.
Popular in mid-20th century homes, today popcorn ceilings are often removed for aesthetic reasons and to eliminate potential asbestos hazards. However, removing a painted popcorn ceiling poses challenges, as the paint seals the texture, making it harder to scrape off and increasing the risk of damaging the ceiling underneath.
Assessing the situation
Assessing the popcorn ceilings involves two critical steps:
1. Checking for asbestos:
- Importance of testing for safety: Popcorn ceilings installed before the 1980s may contain asbestos, a hazardous material. Testing for asbestos is crucial before any removal or repair work, as disturbing asbestos can release harmful fibers into the air, posing severe health risks. A professional should conduct the test to ensure safety and compliance with local regulations.
2. Evaluating the condition of the ceiling:
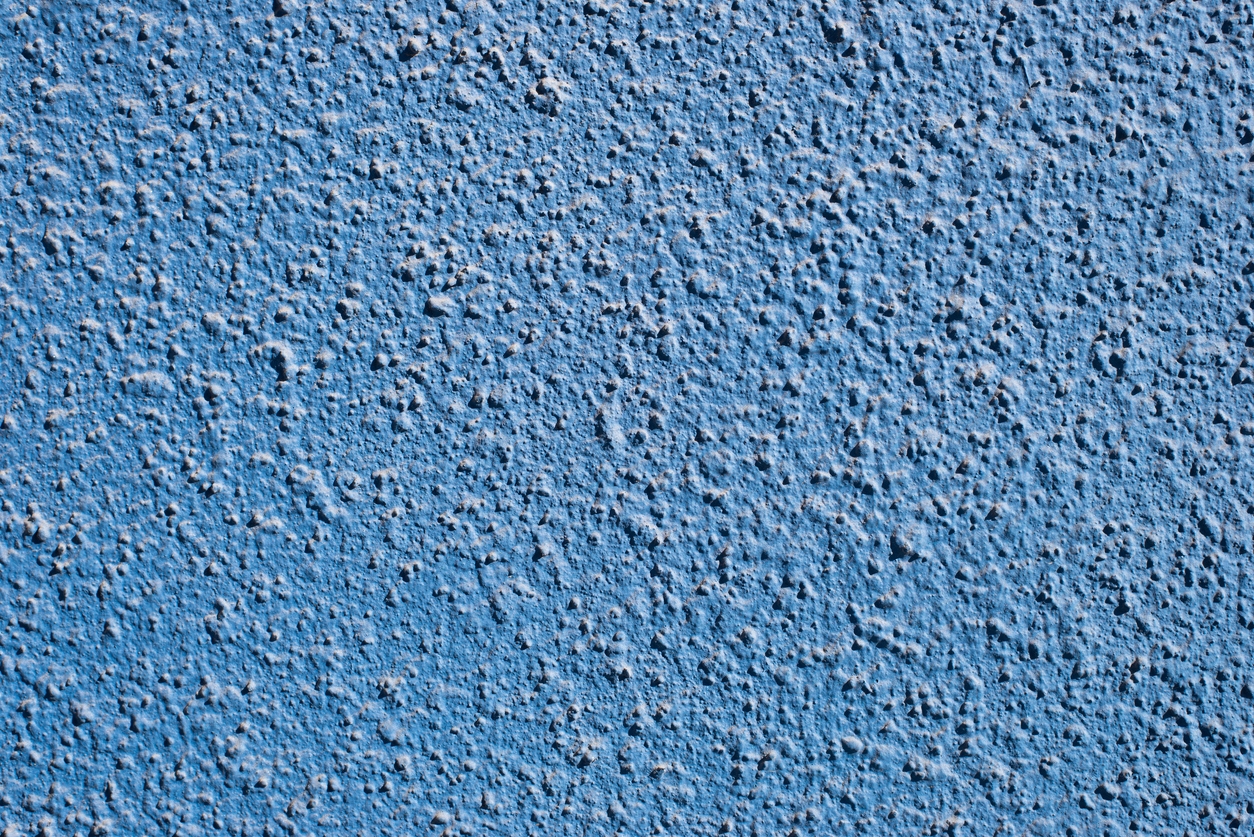
- Determining the extent of paint and texture: Assessing the ceiling’s condition involves checking for any damage, such as cracks, peeling, or stains, which might indicate underlying issues. It’s also important to evaluate whether the popcorn texture has been painted over, as this can make removal more difficult and influence decisions on whether to repair, cover, or remove the ceiling.
Preparing the room
1. Protecting furniture, floors, and walls:
- Drop cloths and plastic sheeting: Start by removing as much furniture as possible from the room. Cover remaining items with plastic sheeting or drop cloths to protect against dust and debris. Extend the plastic sheeting along the walls and over the floor, securing it with painter’s tape to create a sealed environment that prevents messes.
2. Gathering necessary tools and materials:
- Scrapers and putty knives: These tools are essential for gently scraping off the popcorn texture without damaging the ceiling underneath.
- Water sprayer: Use a water sprayer to lightly mist the ceiling before scraping. It helps to soften the texture, making it easier to remove.
- Protective gear: Safety goggles, a dust mask, and gloves are crucial for protecting yourself from dust and potential asbestos, which may be present in older popcorn ceilings.
Proper preparation ensures a smoother, safer, and less messy popcorn ceiling removal process.
Softening the paint and texture
Softening the paint and texture on popcorn ceilings can be delicate, particularly if you plan to remove or repaint the ceiling. Here’s a brief overview:
Techniques for Softening Paint
1. Using a garden sprayer with warm water and mild detergent:
- Mix warm water with a small amount of mild detergent in a garden sprayer.
- Spray the mixture evenly over the popcorn ceiling, ensuring it is damp but not overly saturated. The warm water helps to soften the paint, while the detergent breaks down the surface tension, allowing the water to penetrate more effectively.
2. Allowing time for the solution to penetrate:
- After spraying, let the solution sit for about 10-15 minutes. It allows the moisture to penetrate through the layers of paint and into the textured surface.
- You may need to reapply the solution if the ceiling appears to dry out too quickly. The key is to keep the surface damp without making it too wet to avoid damaging the ceiling.
These techniques help soften the paint and make it easier to scrape off or smooth out when removing or repainting the ceiling.
Removing the painted popcorn ceiling
Removing a painted popcorn ceiling can be a bit challenging, but here’s how to approach it effectively:
Scraping off the texture
- Proper scraping technique: Start by thoroughly wetting the ceiling with a water solution (a mix of warm water and a few drops of dish soap). Use a spray bottle to apply the solution and allow it to soak in for 15-20 minutes. Then, use a wide putty knife or drywall scraper at a shallow angle to carefully scrape off the texture. To minimize damage to the drywall underneath, apply even pressure and avoid gouging or digging too deeply into the surface.
- Working in small sections: Work on small sections at a time, usually about 2-3 square feet. It allows the water solution to stay effective, making it easier to scrape off the texture without it drying out. It also helps to maintain control and reduces the risk of damage to the drywall.
Dealing with stubborn areas
- Reapplying water solution: For areas where the popcorn texture is more stubborn or doesn’t come off easily, reapply the water solution and give it a little extra time to soak in. It can help loosen the paint and texture, making it easier to remove.
- Using a steamer: If reapplying the water solution doesn’t work, consider using a steamer. A wallpaper steamer can soften the paint and texture, allowing you to scrape it off more easily. Be sure to move the steamer slowly over the surface and follow up with scraping while the area is still damp and pliable.
These techniques can help you remove painted popcorn ceilings more efficiently while minimizing damage to the underlying drywall.
Repairing and smoothing the ceiling
When repairing and smoothing the ceiling after removing a popcorn ceiling, follow these steps:
1. Sanding the Surface:
- Using a pole sander or drywall sanding sponge: Start by sanding the entire ceiling to remove any remaining texture and smooth out rough spots. A pole sander or drywall sanding sponge helps reach high areas and ensures a consistent finish across the surface.
2. Filling and patching any damage:
- Applying joint compound to smooth imperfections: After sanding, inspect the ceiling for any cracks, gouges, or uneven areas. Apply joint compound to these spots, using a putty knife to fill and smooth them out. You may need to apply multiple thin layers, allowing each layer to dry before applying the next.
3. Priming the ceiling:
- Preparing the surface for a new finish: Once the ceiling is smooth and dry, apply a coat of primer. It seals the surface and provides a uniform base for the new paint or finish, ensuring better adhesion and a more professional appearance.
Finishing the ceiling
After removing a popcorn ceiling, finishing the ceiling involves selecting a new finish, painting, and smoothing the surface.
1. Choosing a new ceiling finish
- Smooth finish: This option provides a clean, modern look. It requires careful sanding and joint compound application to achieve a flawless surface, making it ideal for a sleek, contemporary appearance.
- Textured finish: Textured ceilings, like knockdown or orange peel, add visual interest and can help hide minor imperfections. It’s a good choice if you want a bit of character without the smooth ceiling’s labor-intensive preparation.
- New popcorn application: If you prefer the acoustic benefits of popcorn ceilings or their retro look, you can reapply a new layer. This option is less common today but can be useful in certain spaces.
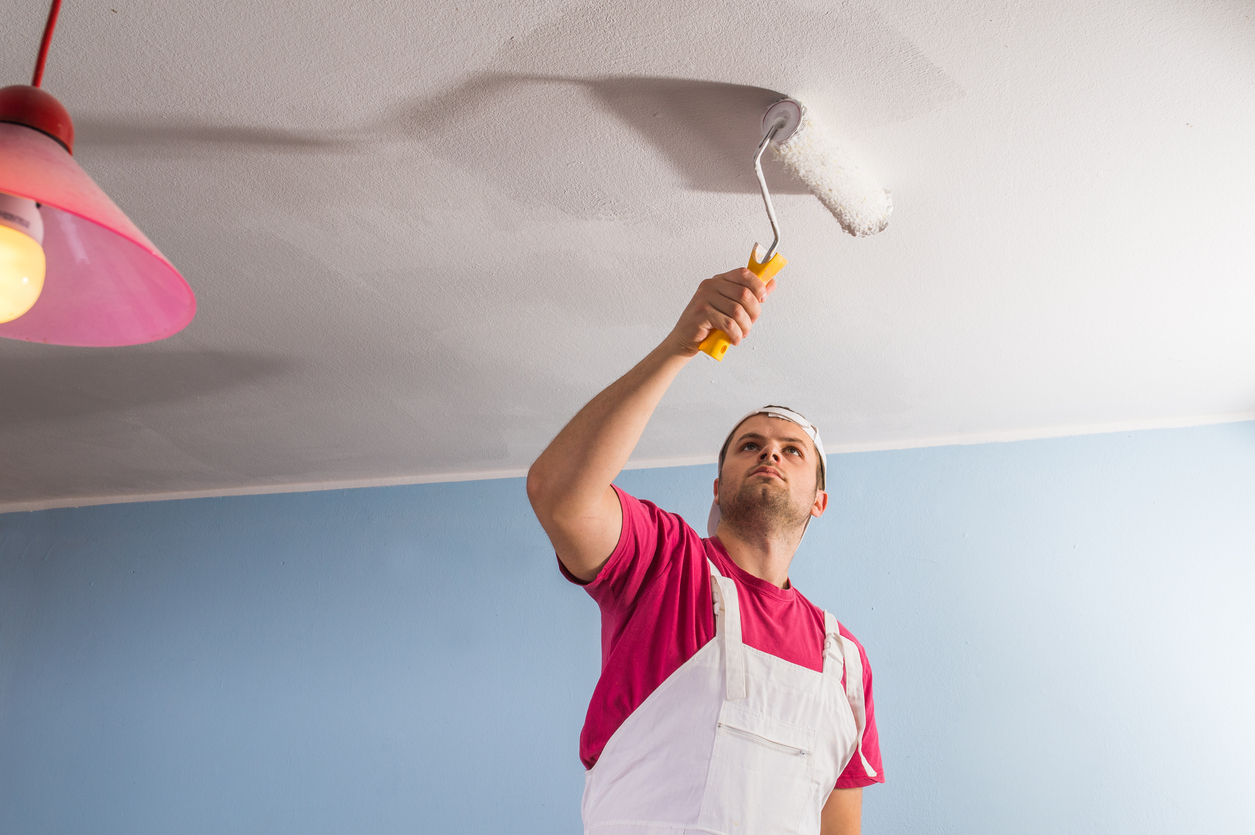
2. Painting the ceiling
- Applying primer: After choosing your finish, apply a high-quality primer to the ceiling. It ensures proper paint adhesion and can help cover any stains or imperfections left after removing the popcorn texture.
- Applying paint: Once the primer is dry, paint the ceiling with ceiling-specific paint. A flat or matte finish is usually recommended to minimize the appearance of imperfections. Consider using a paint-and-primer-in-one product for added coverage.
Select the finish carefully, then apply primer and paint to achieve a fresh and updated ceiling that enhances the overall look of your space.
Safety and cleanup
After removing the popcorn texture from a ceiling and completing the painting, smoothing, and finishing process, it is crucial to focus on safety and cleanup to maintain a healthy and organized environment. Here’s how to approach these tasks:
1. Proper disposal of debris
- Bagging and sealing removed material: The debris from popcorn ceiling removal can include dust, old paint, and possibly asbestos if the ceiling is older. Collect all removed material into heavy-duty contractor bags. Seal the bags securely to prevent any dust or particles from escaping. If asbestos is a concern, you should handle these materials according to local hazardous waste regulations and possibly dispose of them at a designated facility.
2. Cleaning tools and the workspace
- Ensuring a dust-free environment: Once you complete the ceiling work, clean the workspace thoroughly to remove all dust and debris. Use a HEPA filter vacuum to capture fine particles that may have settled on surfaces. Wipe down all surfaces with damp cloths to ensure no dust remains. Cleaning the tools used during the process is also crucial; wash brushes, rollers, and other tools with appropriate cleaning solutions, and dry them properly before storage.
Conclusion
When tackling popcorn ceiling removal, repairs, painting, and finishing, it’s crucial to prioritize safety for Fremont, CA area homeowner. Be sure to take all necessary precautions, such as testing for asbestos, wearing protective gear, and following proper ventilation practices.
If you’re ready to transform your space, contact Custom Painting, Inc. for professional, reliable, and high-quality service. To request a free estimate, call us at 925-294-8062 or use our contact form. Let us help you achieve the perfect finish for your ceilings!