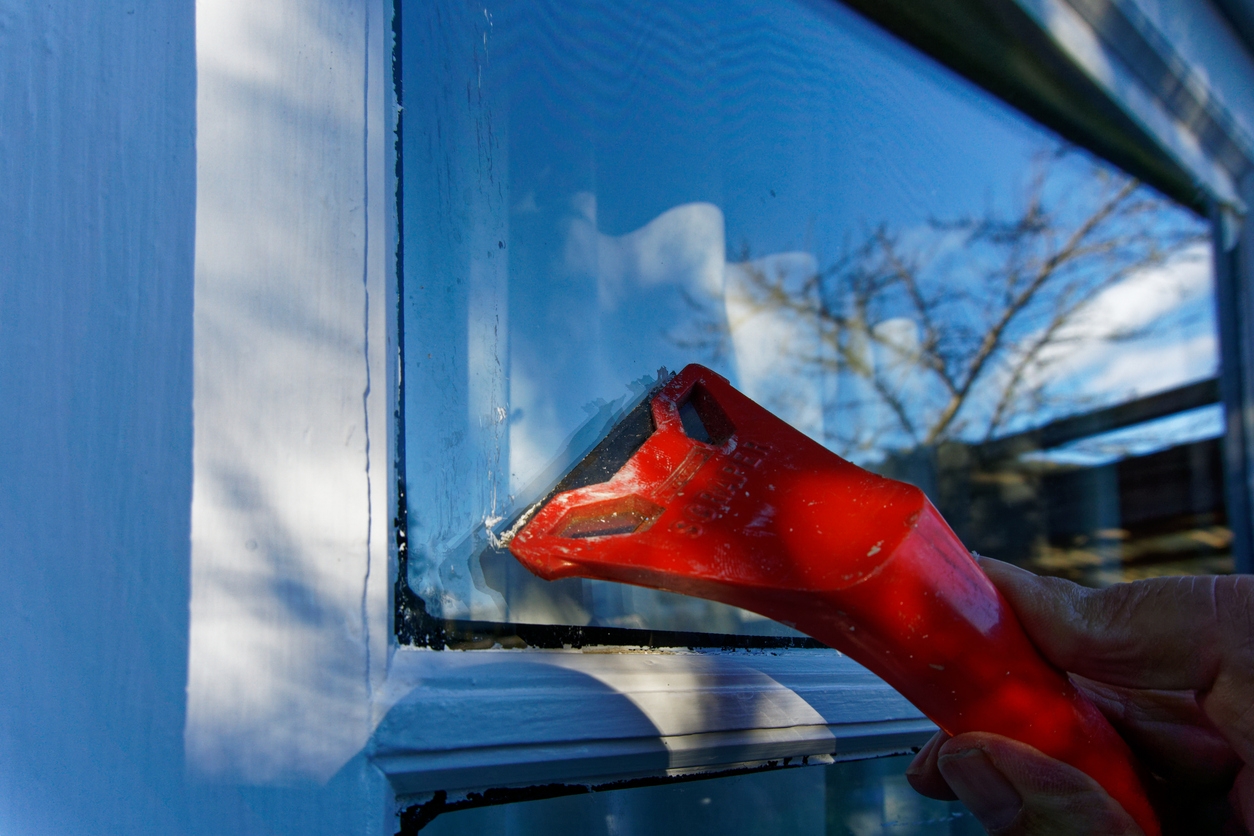
A fresh coat of paint can give your space a refreshed and updated look. However, there are times when painters commit a few mistakes along the way, particularly when painting around windows.
Paint splatter or overpaint on windows is a common issue during residential and commercial painting projects, often resulting from accidental drips or overspray. Proper cleanup is crucial for maintaining a professional image and ensuring client satisfaction. While some paint accidents are inevitable, removing paint from windows is manageable with the right tools and techniques, ensuring a clean and polished final result.
Prevention: Best practices for minimizing cleanup
To minimize cleanup after painting window trim, it’s essential to take preventative measures before starting the project. Here are some key strategies:
1. Use of painter’s tape and plastic sheeting
- Protecting windows: Painter’s tape applied along the edges of window frames prevents paint from smudging onto the glass. Plastic sheeting over the windows shields them from accidental splatters, ensuring a clean finish.
- Tip: Choose high-quality painter’s tape that is easy to apply and remove without leaving residue or peeling off paint.
2. Proper masking techniques
- Correct application: Press the tape firmly along the edges to achieve complete coverage, ensuring it adheres correctly without gaps. Overlap tape pieces slightly to prevent leaks, and use a putty knife to smooth out air bubbles.
- Tip: Angle the tape slightly inward on the window frame to create a crisp line, and remove it slowly at a 45-degree angle while the paint is still tacky for the best results.
3. Investing in drop cloths and barriers
- Reducing cleanup: Use canvas or plastic drop cloths to protect floors and surrounding areas from paint drips and spills. Placing barriers or painter’s shields helps contain paint within the designated area, minimizing the need for extensive cleanup.
- Tip: Anchor the drop cloths securely to prevent them from shifting during the project, and choose heavy-duty cloths for better coverage and absorption.
Proper preparation protects your windows, significantly reducing the time and effort needed for post-painting cleanup.
Tools you’ll need for removing paint
1. Basic supplies:
- Razor blades: Ideal for scraping paint off glass surfaces carefully without scratching.
- Scrapers: Handy for removing paint from window frames and hard-to-reach spots.
- Microfiber cloths: Useful for wiping away paint residue and ensuring a clean, streak-free finish.
2. Specialized cleaning solutions:
- Glass-safe solvents: These are designed to dissolve paint without damaging glass surfaces. Look for products specifically labeled as glass-safe.
- Soap and water combinations: A simple mixture can help soften paint for easier removal, especially when combined with gentle scraping.
3. Personal Protective Equipment (PPE):
- Gloves: Protect hands from sharp tools and harsh chemicals.
- Goggles: Essential to safeguard eyes from splashes and paint chips during removal.
These tools and precautions help ensure effective and safe paint removal from windows.
Step-by-step guide to removing paint from windows
Step 1: Soften the paint
Use warm, soapy water or a commercial-grade glass cleaner to soften the paint. This step will make the paint easier to remove, reducing the risk of damage to the glass. Let the solution sit for a few minutes to loosen the paint.
Step 2: Scrape with a razor blade or scraper
Hold the razor blade at a 45-degree angle to the glass surface to avoid scratching. Gently scrape the paint in a single direction, using slow, steady strokes. Be cautious not to apply too much pressure, as this can cause the blade to dig into the glass.
Step 3: Wipe the Window Clean
Once the paint is removed, use a microfiber cloth and glass cleaner to wipe the window clean. This will remove any remaining residue and ensure a streak-free finish.
Chemical-free removal methods
- Vinegar and hot water solution: Mix equal parts of white vinegar and hot water. Apply the solution to the paint and let it sit for 10-15 minutes. The acidity of the vinegar helps to soften the paint, making it easier to scrape off.
- Using a steam cleaner: The heat from the steam softens the paint, making it easier to wipe away. This method is effective for stubborn spots and avoids the need for chemicals.
- Baking soda and water paste: Mix baking soda with a small amount of water to create a paste. Apply it to the paint and gently scrub using a soft cloth or sponge. This method is ideal for light paint splatters and provides a gentle abrasive action.
When to use commercial-grade paint removers
- Dealing with hardened or large areas of paint: Commercial-grade removers are often necessary for commercial jobs involving hardened or extensive paint coverage due to their stronger solvents and efficiency in removing tough layers.
- Choosing the right product: To avoid scratches or etching, select a paint remover specifically designed for use on glass. Look for products labeled as safe for windows and non-abrasive to glass surfaces.
- Proper application and safety: Always follow the manufacturer’s instructions. Apply the remover carefully with a brush, avoiding contact with window frames. Use protective gloves and ensure good ventilation. Remove the softened paint with a plastic scraper to prevent damage.
Safety tips and common mistakes to avoid
- Wear protective gear: Always use gloves and eye protection to prevent injuries from paint removers or glass shards. Ensure the area is well-ventilated to avoid inhaling fumes from chemicals.
- Avoid using abrasive materials: Scouring pads and harsh scrubbing tools can scratch the glass, leaving permanent marks. Instead, use plastic scrapers, soft cloths, or specialized glass-safe tools for gentle paint removal.
- Don’t rush: Removing paint hastily can lead to mistakes like scratching the glass or damaging window frames. Apply gentle, steady pressure and work slowly to ensure you have removed all paint without causing harm.
Final inspection and cleanup
1. Wipe down the windows
After removing the paint, thoroughly wipe the windows using a clean, lint-free microfiber cloth and a gentle glass cleaner or a solution of water and vinegar. This step will remove any residue, ensuring the glass is free of streaks and spots. Pay special attention to the corners and edges, where paint remnants might linger.
2. Polishing and buffing for a professional finish
To achieve a sparkling, professional finish, use a dry, soft cloth or a polishing pad to buff the glass in circular motions gently. For added shine, you can apply a small amount of glass polish or a mixture of water and a few drops of dish soap. This process helps to smooth out any minor scratches and leaves the windows with a clear, gleaming appearance.
Conclusion
Preventing, carefully removing, and ensuring safety when eliminating old or splattered paint from windows is essential for preserving the integrity of the glass and surrounding surfaces. A meticulous cleanup not only enhances the final appearance of a professional painting job but also significantly boosts customer satisfaction.
For optimal results and peace of mind, hire professionals from Custom Painting, Inc. Our team can handle the process efficiently and safely. Contact us at 925-294-8062 or use our contact page for a free consultation and estimate.


